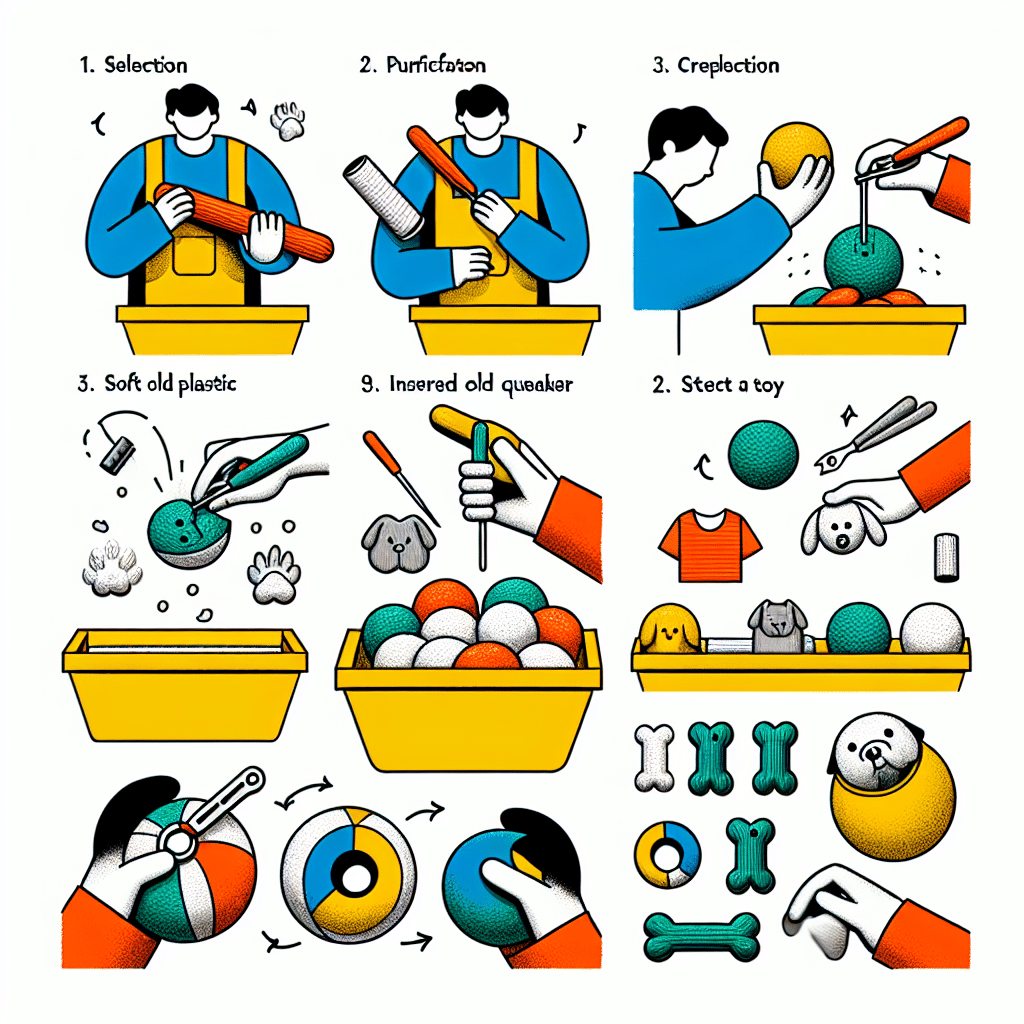
How to Make Squeaky Toys with Recycled Materials
Creating squeaky toys from recycled materials is a fantastic way to provide your pet with safe, engaging, and eco-friendly playthings. This DIY process not only caters to your pet’s playful instincts but also promotes recycling and sustainability. In this guide, we will explore various methods and materials you can use to craft squeaky toys, ensuring both fun and safety for your furry friends.
Materials You Will Need
-
Bottles: Empty plastic water bottles or soda bottles serve as an excellent base for squeaky toys. Their crunching sound is fun and engaging for pets.
-
Fabric Scraps: Old t-shirts, towels, or fleece blankets can be used to make soft toys. Choose non-toxic fabric to ensure safety.
-
Rubber Grips: Old bicycle inner tubes can be cut and used as sturdy, chewy materials for dogs.
-
Squeakers: If you have old squeaky toys that have lost their appeal, you can repurpose the squeakers inside them for your new creations.
-
Yarn or Rope: For those who like knotted toys, leftover yarn or old ropes can be braided and used to create squeaky designs.
-
Old Tennis Balls: Tennis balls can be repurposed by cutting a slit and inserting a squeaker or filling them with treats.
Basic Steps to Create Squeaky Toys
Step 1: Preparing Your Workspace
Before you start crafting your squeaky toys, set up a clean, safe workspace. Gather your materials and tools, including scissors, a sewing kit, and non-toxic glue. Ensure that you work in a well-lit area where you can focus on the task at hand.
Step 2: Crafting Squeaky Toys from Plastic Bottles
-
Choose Your Bottle: Select a plastic bottle that is safe for your pet. Avoid bottles with small parts that could be swallowed.
-
Remove Labels: Clean the bottle thoroughly, removing all labels and residue.
-
Add Sound: If desired, put a small squeaker inside the bottle before sealing it up. Alternatively, you can keep the cap on for the crunchy sound.
-
Seal the Ends: If you choose to add fabric or paper around the bottle to soften it, use a cloth or tape to secure the ends, ensuring that there are no sharp edges.
-
Decorate: Use fabric or paint (non-toxic) to decorate the bottle, making it visually appealing for your pet.
-
Safety Check: Before giving it to your pet, check for sharp edges or loose parts that may pose a choking hazard.
Step 3: Making Soft Toys from Fabric
-
Fabric Selection: Choose thick fabrics that can withstand chewing. Cut two identical shapes from the fabric.
-
Insert Squeaker: If you have a squeaker, place it between the two fabric pieces before sewing.
-
Sewing: Using a sewing machine or needle and thread, sew around the edges, leaving a small gap at one end.
-
Turn It Inside Out: Once you’ve sewn it, turn the toy inside out so that the seams are on the inside.
-
Stuffing: Fill the toy with non-toxic stuffing to make it plush.
-
Seal the Opening: Sew the opening closed securely to prevent stuffing from coming out during play.
-
Personalize: Add extra features like eyes or ears stitched on using leftover fabric for added personality.
Step 4: Utilizing Old Tennis Balls
-
Scoring the Ball: Use a knife to cut a small slit into the ball (just deep enough to insert a squeaker).
-
Insert Squeaker: Place a squeaker inside the tennis ball through the slit.
-
Seal the Ball: Use strong tape to seal the slit if you want to avoid further modification to the ball’s integrity.
-
Decorate: Paint or add fabric to the outside for added aesthetics.
Step 5: Creating Knotted Toys with Yarn or Rope
-
Cut Yarn or Rope: Choose durable rope or a bundle of yarn and cut it into several lengths.
-
Braid Together: Tie the lengths together using a strong knot. You can create simple braids or complex knots for a more durable design.
-
Squeaker Insert: If you’re adding a squeaker, insert it into the middle of the braid before securing the final knot.
-
Secure the Knots: Tie off the ends securely to ensure that the pieces don’t pull apart during play.
Safety Considerations
When crafting squeaky toys for your pets, keep the following safety tips in mind:
-
Non-toxic Materials: Always use non-toxic fabrics, paints, and glues to prevent any harmful effects on your pet.
-
Monitor Playtime: Keep an eye on your pet while they play with their new toys to ensure they don’t ingest any parts.
-
Replace Worn Toys: Regularly check the toys for wear and tear and replace them if they become damaged.
Cleaning Your Recycled Squeaky Toys
Maintenance of your homemade squeaky toys is essential for your pet’s health. Here are some tips for cleaning:
-
Fabric Toys: Wash them periodically in warm water with mild detergent. Air dry thoroughly before letting your pet play with them.
-
Plastic Toys: Wipe them with a damp cloth or wash them in warm, soapy water, making sure no residue is left behind.
-
Yarn/Rope Toys: Given their fibrous nature, they can be hand-washed and air-dried, but ensure that any squeakers survive the wash cycle.
By following these steps and safety precautions, you can create fun and engaging squeaky toys for your pets while contributing to a sustainable lifestyle. Enjoy the creative process and watch your pet play with their new favorite toys!
